
Installation & Onboarding
Adovance connects to your tenant with one admin consent. There are no agents to deploy, no software to install on user devices, and no per-user rollout.
Who needs to be involved
Installation steps
| Role | What they do | |—|—| | Global Administrator | Grants admin consent and turns off the concealed-names setting (one time) | | Portal users | Sign in with Microsoft to view reports (no special role required) |
Step 1 - Grant admin consent
- Your Adovance contact provides a consent URL for your tenant.
- A Global Administrator opens the URL and reviews the requested permissions.
- The administrator clicks Accept.
Adovance requests read-only permissions needed to report on Copilot usage:
Reports.Read.All- Copilot usage reportsUser.Read.All- user directory (department, manager, role)Organization.Read.All- subscribed SKUs (purchased seats per Copilot plan)User.Read,openid,profile- sign-in
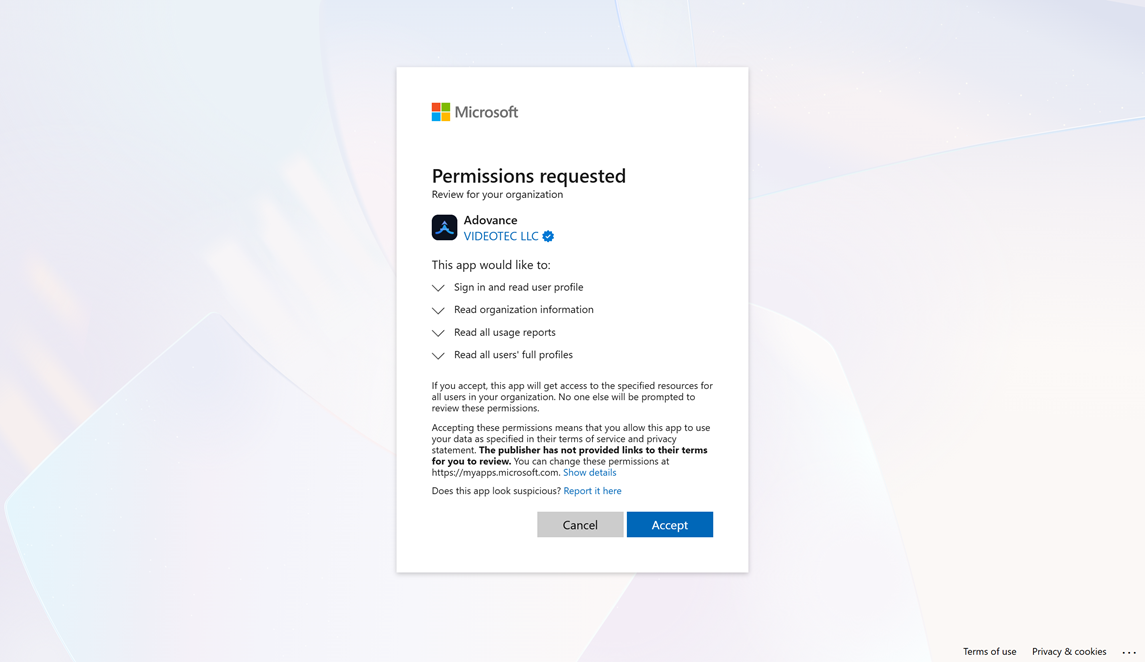
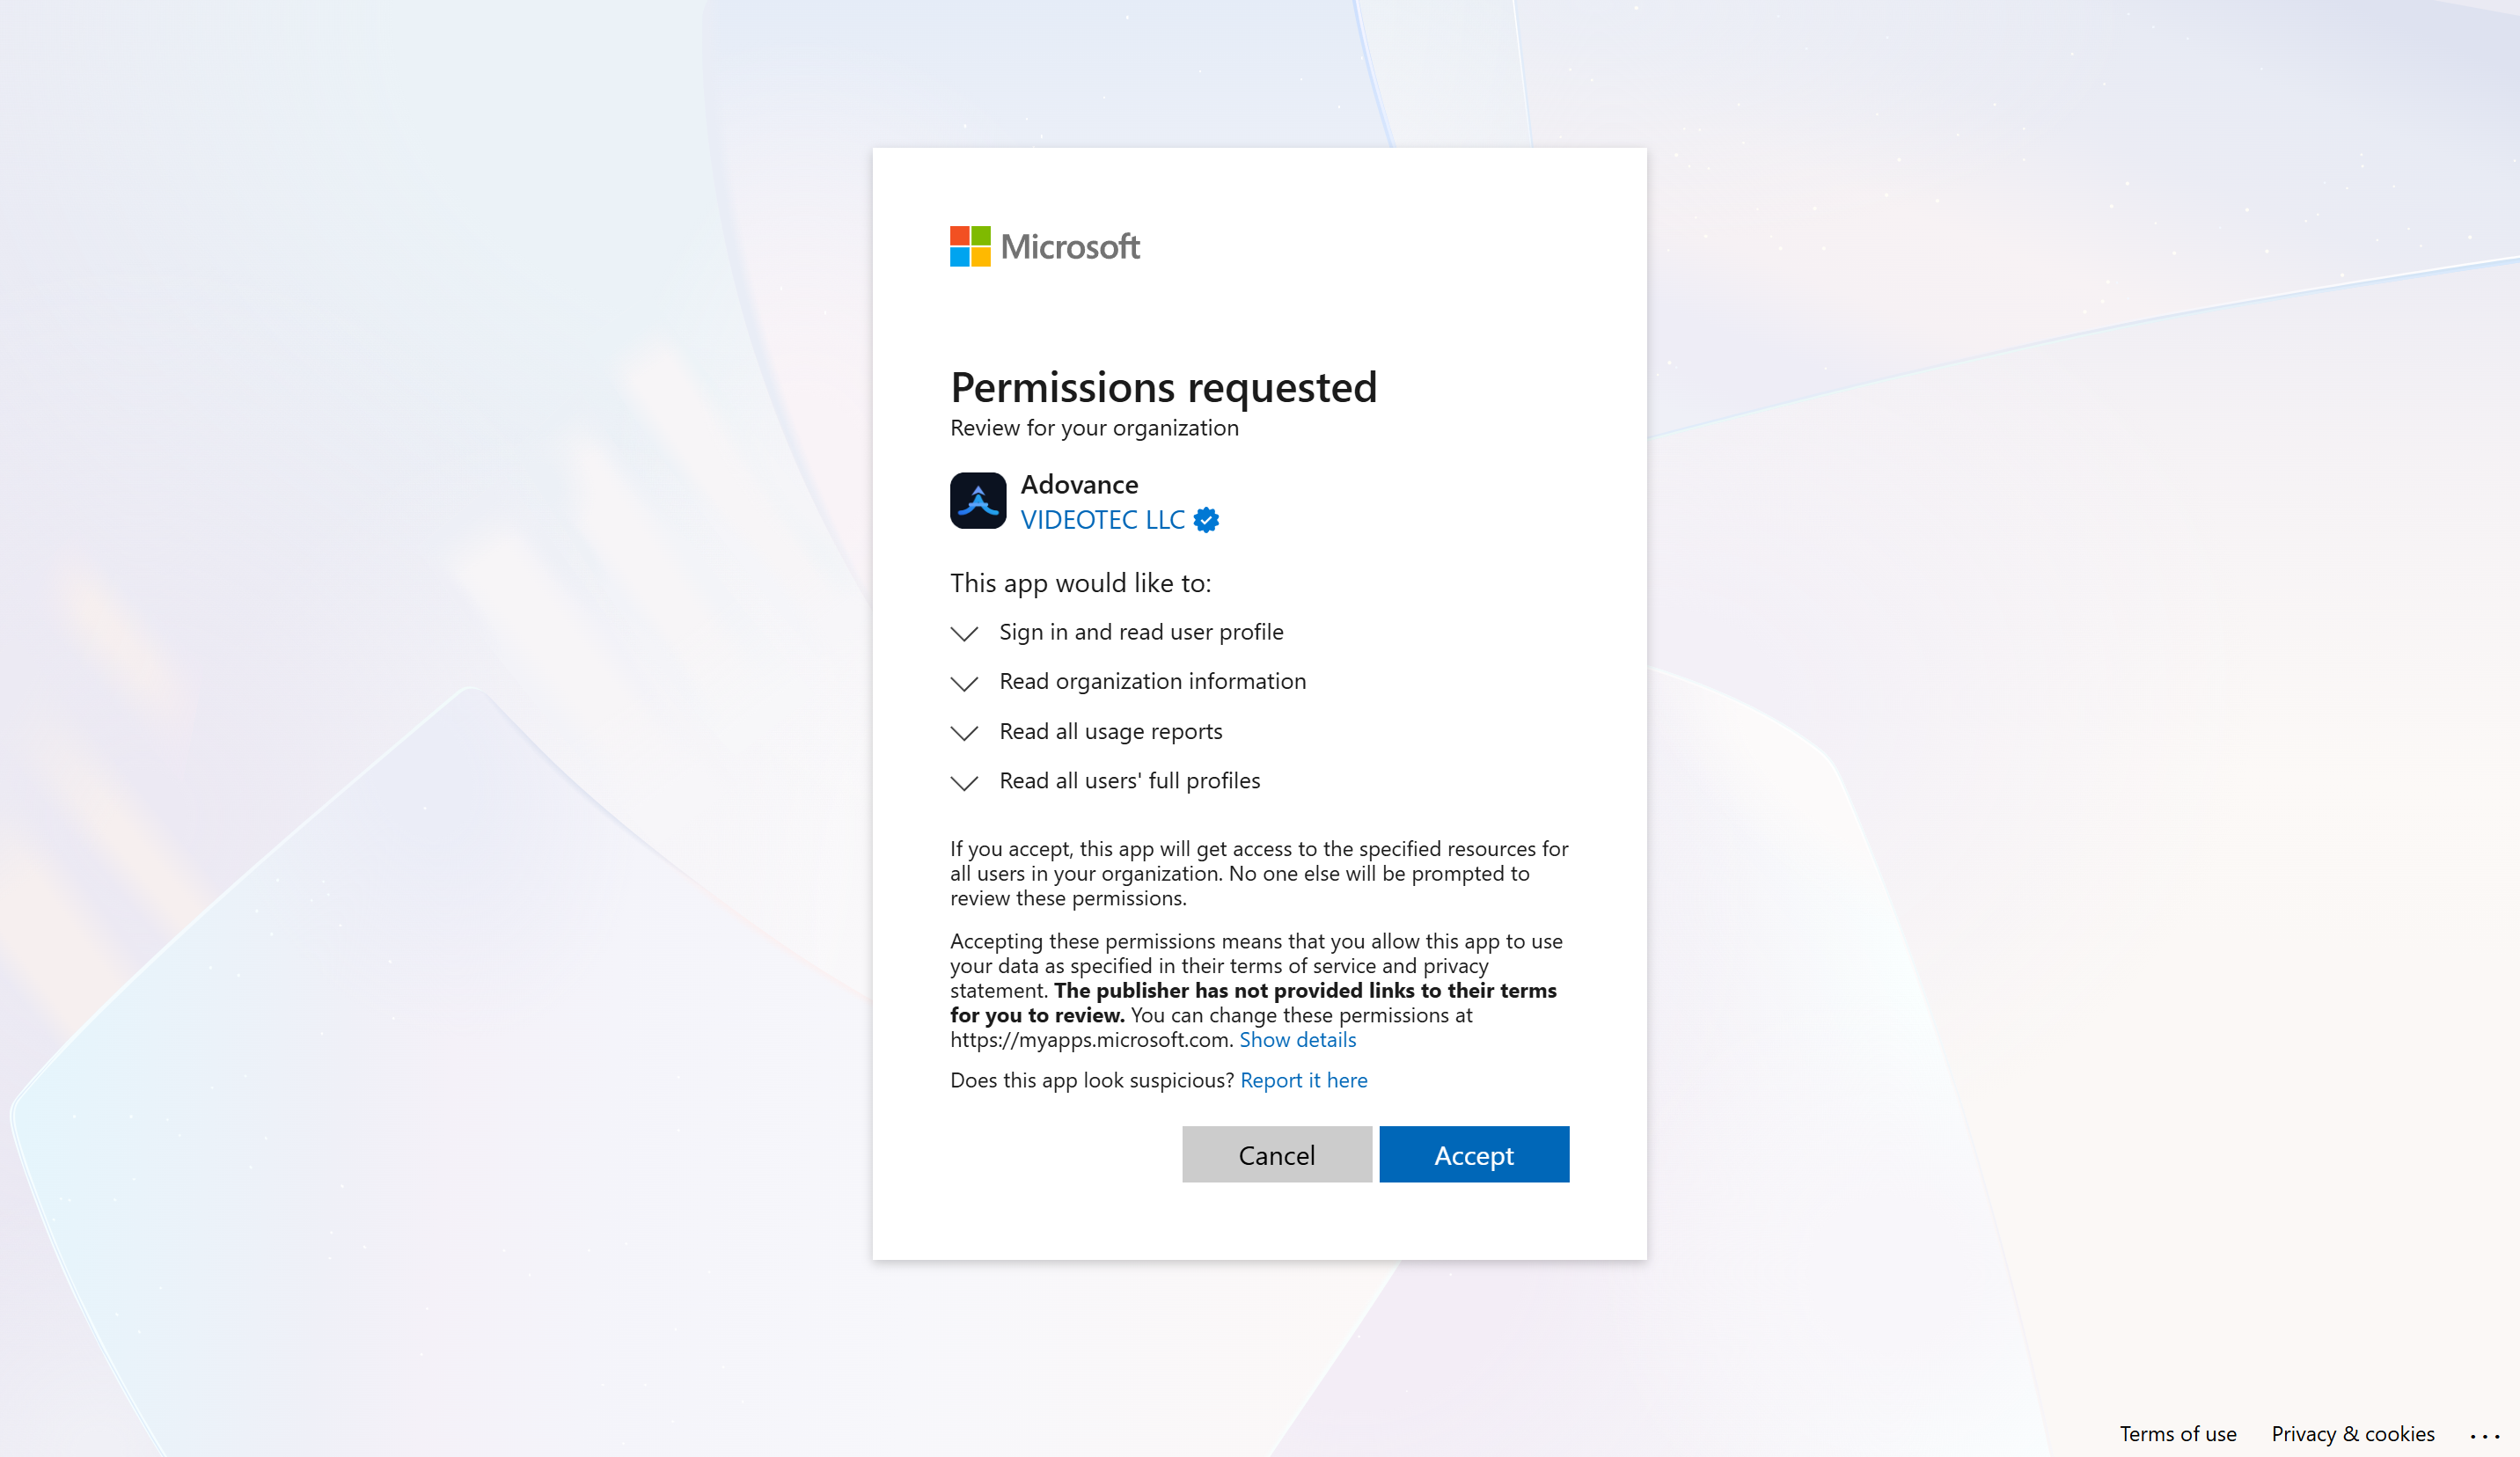
Once consent is granted, your tenant is provisioned automatically and the first data sync begins.
Step 2 - Turn off concealed user names
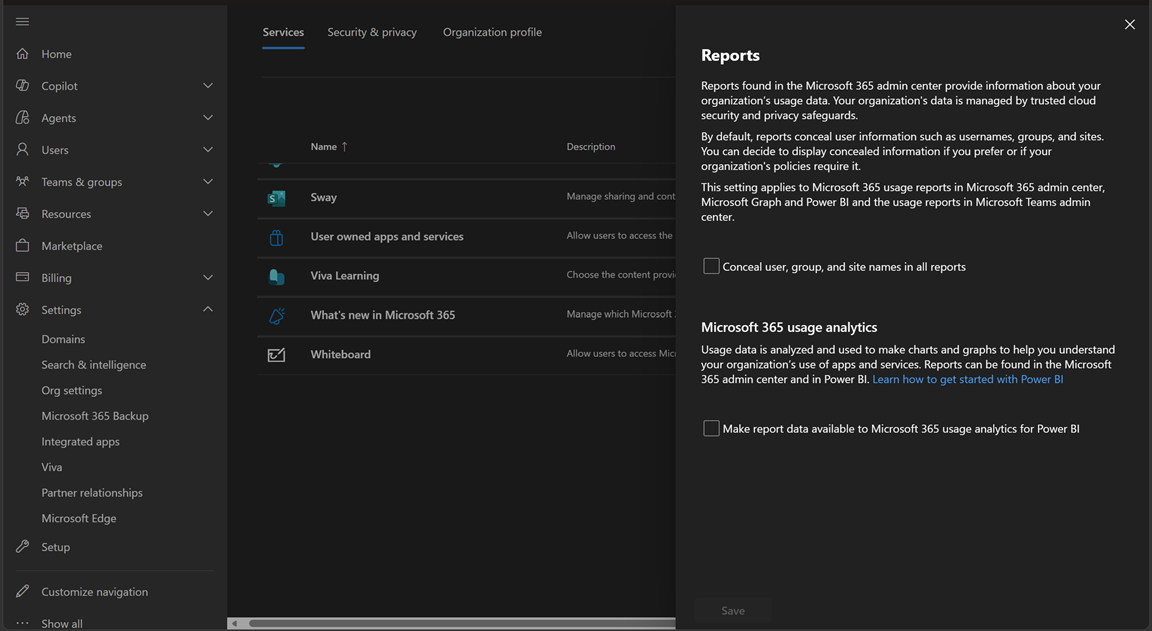
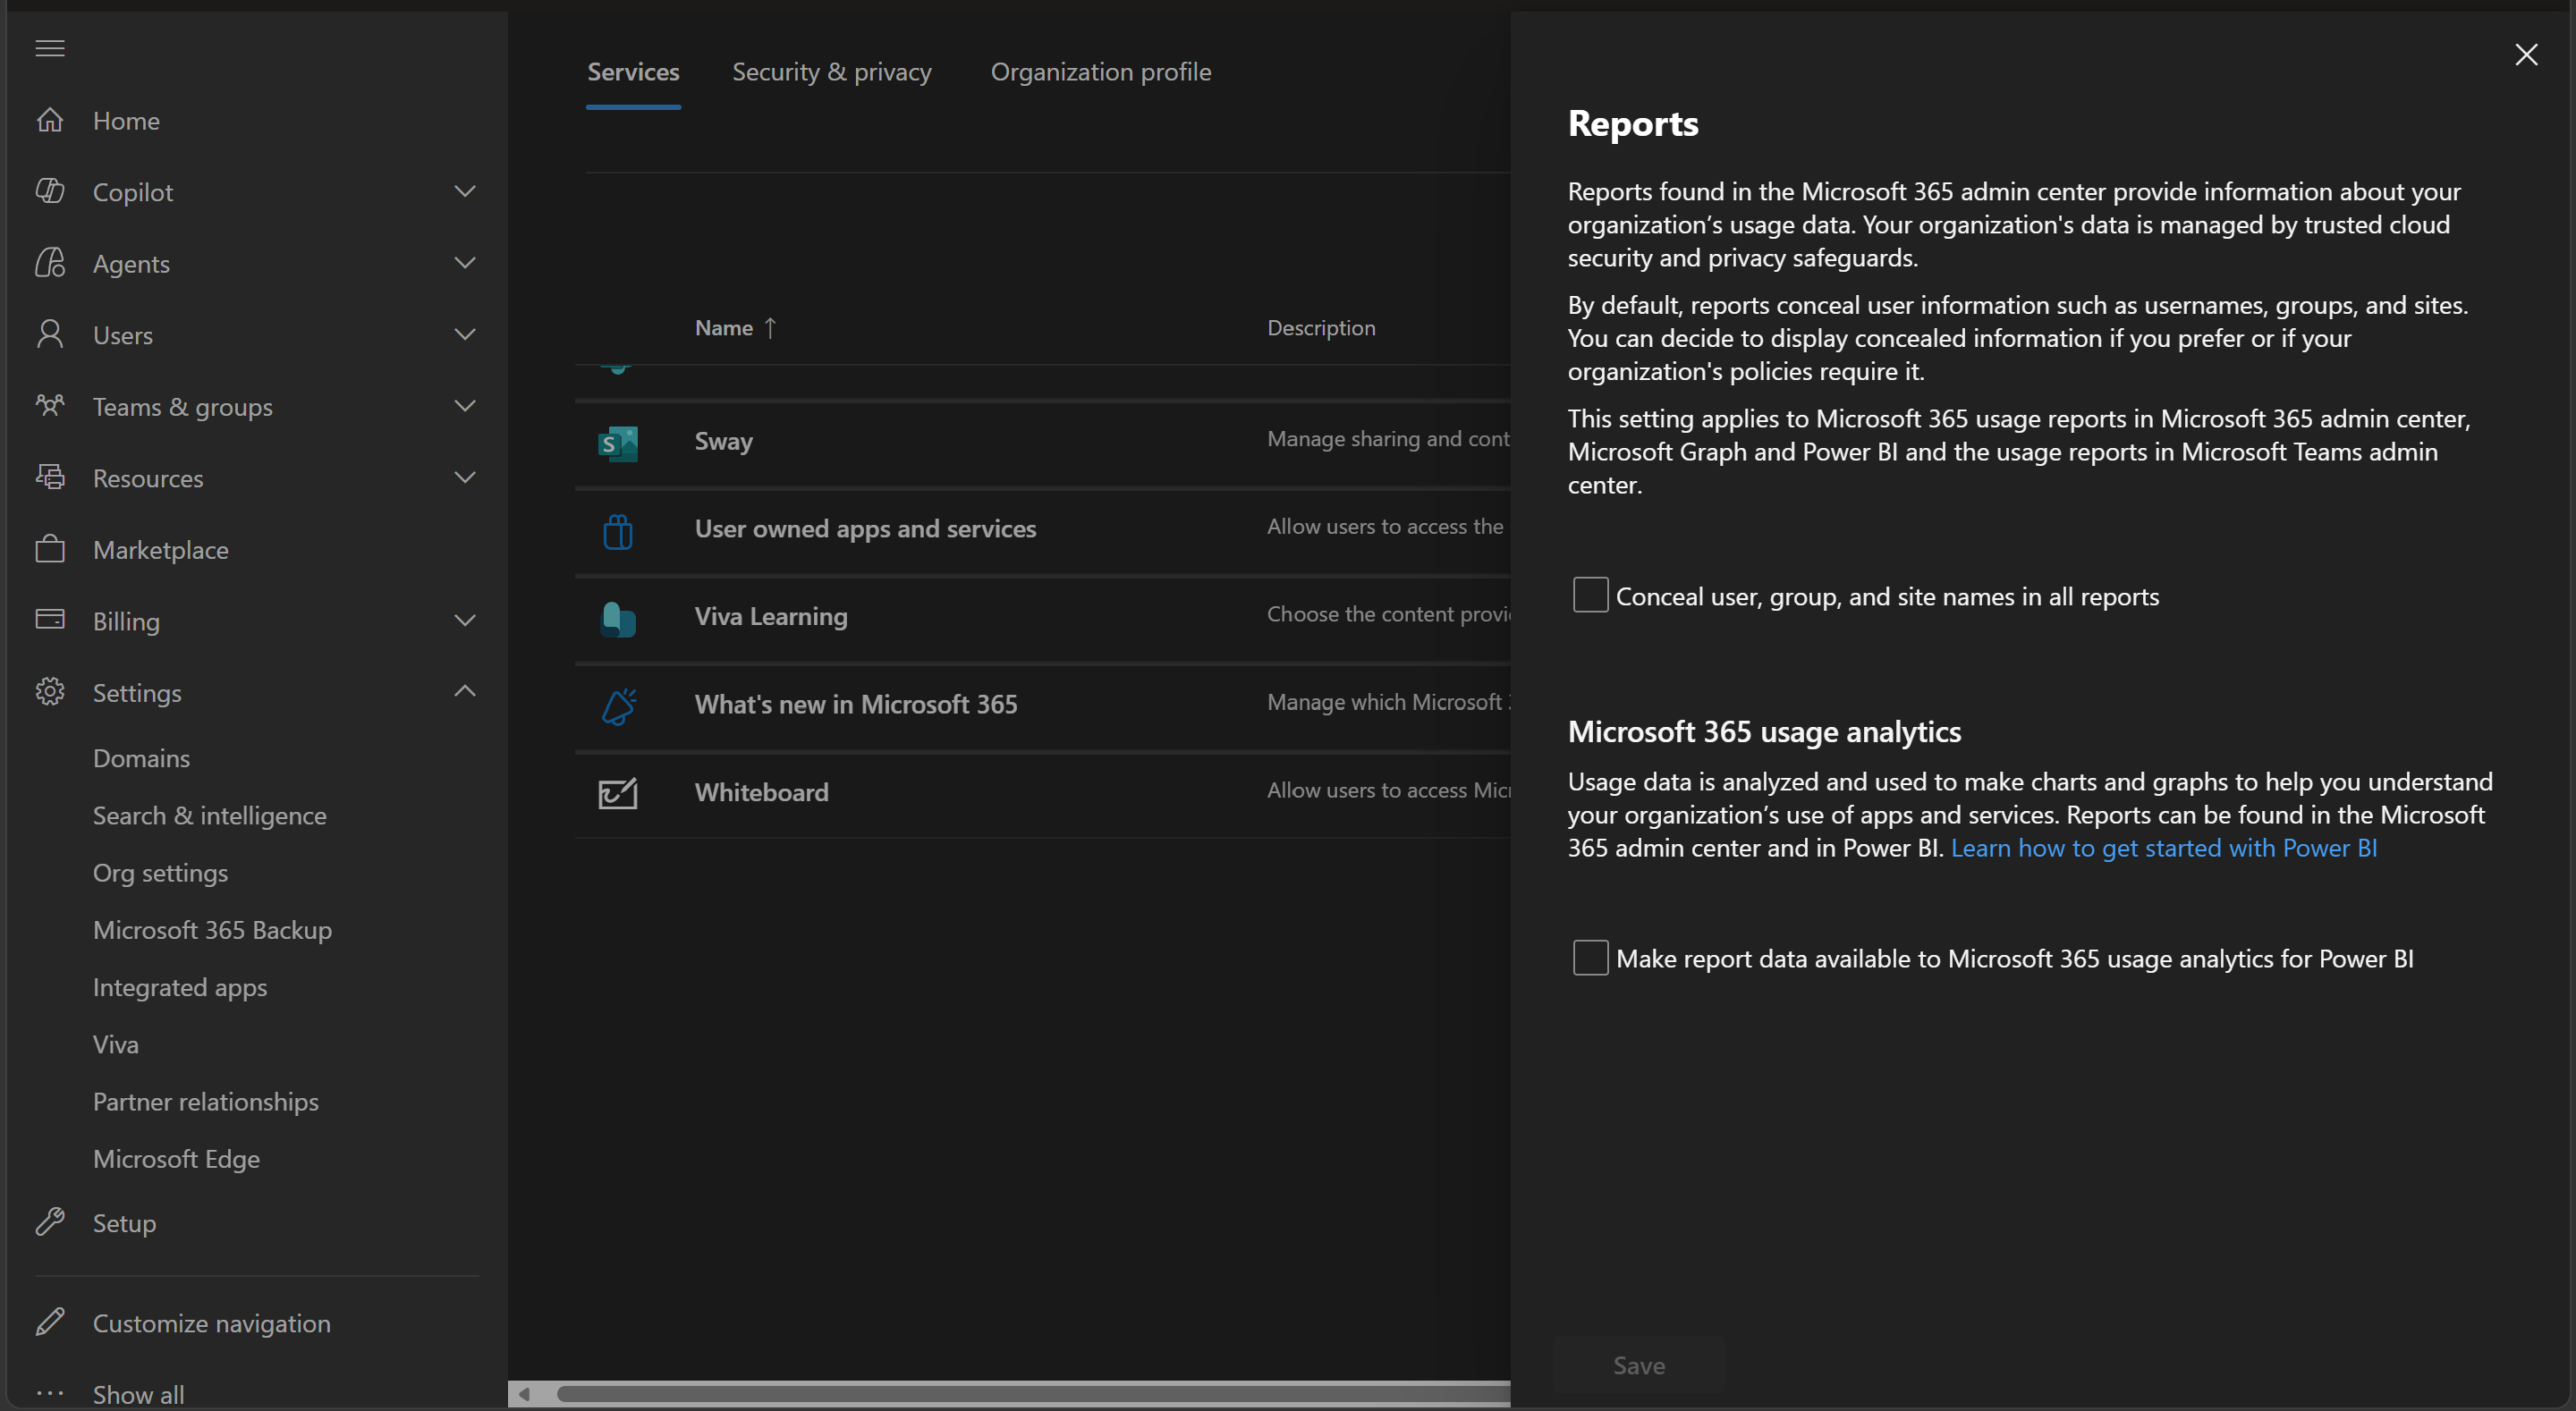
This is required. By default Microsoft hashes user identities in usage reports, which makes everyone appear inactive.
- Go to the Microsoft 365 Admin Center.
- Navigate to Settings → Org settings → Reports.
- Uncheck “Display concealed user, group, and site names in all reports”.
- Save.
📖 More detail and what it looks like when it’s still on: Data Quality & the Concealed-Names Trap
Step 3 - First sign-in
Once consent is granted, any user from your tenant can visit the dashboard and choose Sign in with Microsoft.
📖 Read more: Signing In
Data isolation
Every tenant’s data is strictly isolated. Enterprise customers can optionally run on a dedicated database for an added layer of separation.
📖 Read more: Security and Privacy
Related reading
- 🚀 Quick Start Guide
- ⚙️ How It Works
- ❓ FAQ